
This Ultimate Instant Pot Guide will help you learn how to use your pressure cooker – includes step-by-step photos, tips, tricks and more!

How to Use Your Instant Pot
Did you just pick up your Instant Pot and are wondering how to get started? You’re in luck! I put together the ultimate guide on how to use the instapot. It’s your best bet to get dinner on the table FAST on busy weeknights and it’s also perfect for your weekly meal prep.
Frequently Asked Questions
In case you don’t already know, the Instant Pot is an electric multi-cooker, meaning it can do everything from pressure cook to slow cook, as well as steam, sauté, make rice, yogurt and more!
I have the 6-Quart Instant Pot Duo which is what I use for all the Instant Pot recipes you see on this blog, but they also have different sizes like the 3-Quart Instant Pot Mini (best used for single people looking to meal prep and couples) and the 8-quart Instant Pot for larger families. If you’ve got a couple of kids to feed, make sure to check out these kid-friendly recipes for some quick and easy dinners!
Definitely! You dump all your ingredients in, cook on high pressure and then it frees up time for you to do the dishes, run other errands, or just relax while it’s all cooking. And you might just be able to get away with relaxing because everything cooks in ONE POT so there’s minimal clean-up. Within half an hour, most recipes are ready to go and you have a ton of food prepped and set to go.

Set Up Your Instant Pot
- Unwrap everything in the box and then wash the inner pot, lid, sealing ring and other accessories
- Make sure the silicone sealing ring (buy extras here!) is firmly place in the lid
- Check the release knob, float valve and the anti-block shield to make sure all are in place
- Install the plastic condensation collector at the back of your Instant Pot
- Plug in the power cord and you’re set to go!
Accessories in the Box
Here’s a list of all the accessories in the box and links to extras in case you lose them:
- Steamer Rack Trivet
- Non-stick Rice Paddle
- Soup Scoop/Ladle
- Rice Measuring Cups
- Condensation Collector
Looking for more? I’ve got a roundup of the best Instant Pot accessories and replacement parts.

Instant Pot Water Test
When you first go to set up your Instant Pot, you’ll want to do the water test to make sure it comes to pressure. This is a good way to get to know how your Instant Pot works and what to expect when pressure cooking. Here are the steps below:
Step 1: Pour cold water into the pot.
Pour 2 cups of cold water into the inner pot that is sitting inside the Instant Pot – this is how you will cook everything – make sure you ALWAYS have the inner pot inside the Instant Pot! Close the Instant Pot lid in the clockwise direction.

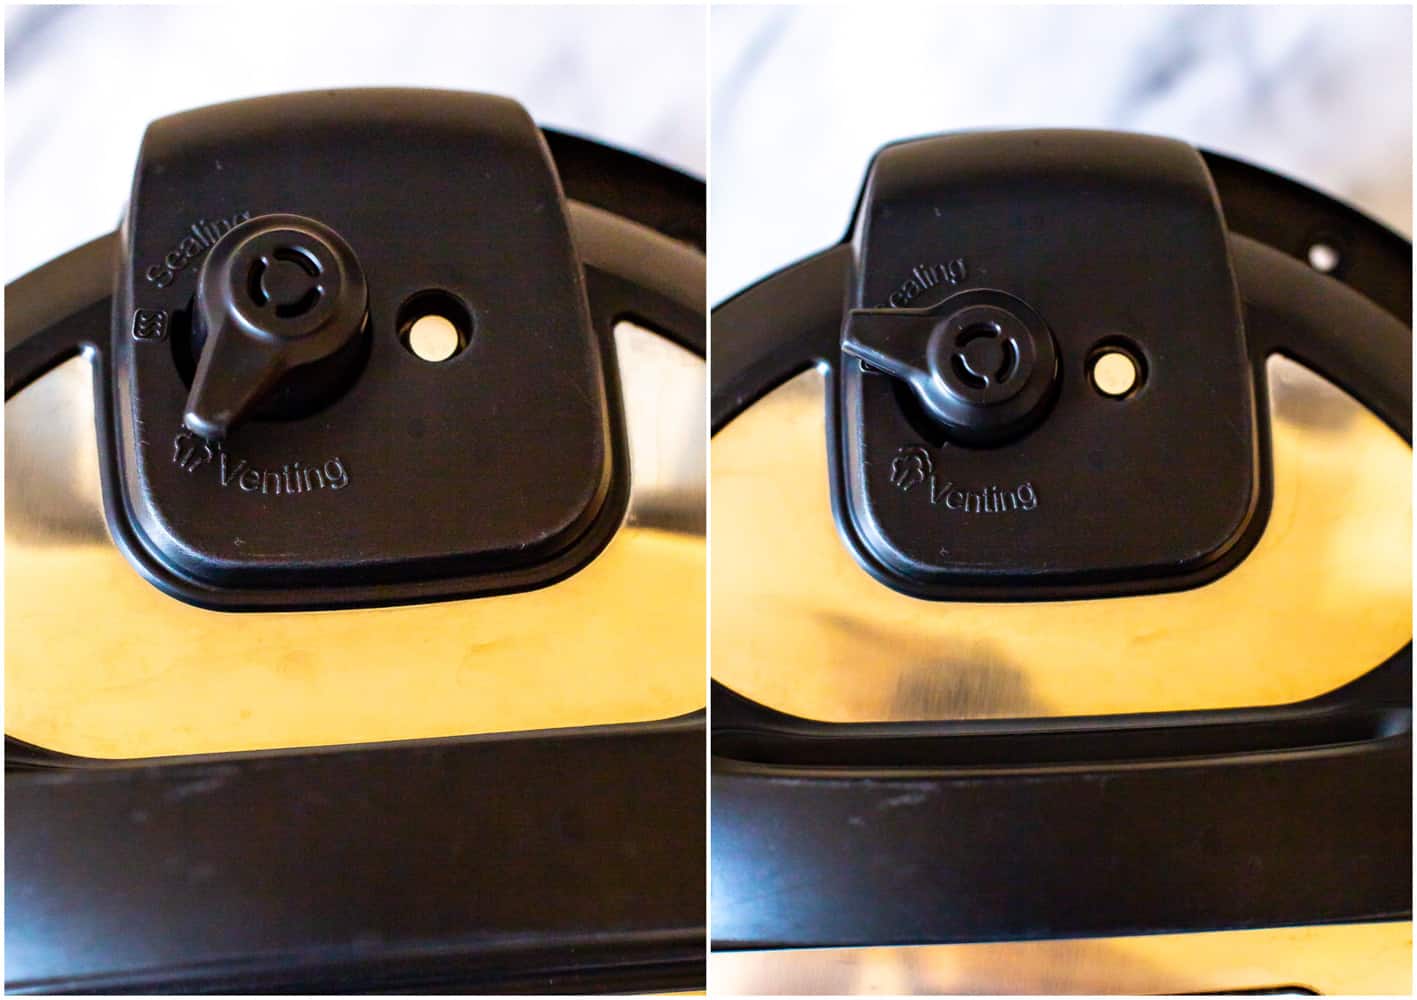
Step 2: Seal the vent.
Turn the venting knob from the venting position to the sealing position (again, turn it clockwise)
Step 3: Cook on manual.
Press the “Manual” button (sometimes known as the “Pressure Cook” button on models such as the Duo Plus) and put in 2 minutes as the cook time.
Step 4: Wait for it to preheat.
The screen will change from 2 minutes to “On” in a few seconds. Once the pressure cooking cycle is on, the Instant Pot will begin preheating and will take anywhere from 10-20 minutes to preheat. During this time, some steam can escape through the floating valve before it has generated enough pressure.
Step 5: Turn off the Instant Pot.
When the floating valve has popped up to the top, that means the Instant Pot has reached high pressure, so the cook time will appear and count down before beeping. After the water pressure cooks, the Instant Pot will enter “Keep Warm” mode unless you press the “Cancel” button to turn the Instant Pot off.
Step 6: Release the pressure.
Once the pressure cooking cycle has finished, you will need to release the pressure before opening the lid. You can either wait 20-25 minutes for the pressure to release naturally, or you can flick the venting knob at the top with a spoon to do a quick release. More on that below!

Instant Pot Buttons
If you’re unsure what all of the buttons mean, no need to worry! Most of the time you will actually just use the Manual/Pressure Cook button and adjust the cook time accordingly.
Read below for the most common buttons you will be using on a regular basis.

Manual Button
This is also known as the Pressure Cook Button on newer models like the Duo Plus. This is the main button you’ll use when cooking on high pressure. It’s better to manually control the time for different recipes as opposed to using the meat/yogurt/rice buttons.
To change the cook time on the manual setting, you will use the + and – buttons.
Saute Button
This button is used to saute and simmer ingredients directly in the pot with the lid open. You’ll usually use it to brown meat and onions before pressure cooking or to reduce a sauce at the end.
Keep Warm Button
This button is used to keep everything warm at the end of cook time. It can also be used to gently cook vegetables at the end of a recipe when you aren’t pressure cooking them, giving them a light steam by sitting with the other hot ingredients.
Cancel Button
This button is used to turn the Instant Pot off. You will press it after you have finished pressure cooking and before you release the pressure.
What About the Extra Buttons?
The buttons all labelled Soup, Meat, Cake, Bean, Chili, etc. basically do the exact same thing as the pressure cook buttons except they have pre-programmed times set by the manufacturer – these times are just a suggestion.
I like to use the Manual/Pressure Cook button for pretty much everything I cook because the cut/size of meat can vary and so will cooking times. I also find the other buttons suggest a much higher cook time than is often needed (for instance, most types of chicken will cook in 2-3 minutes if cut up into 1-inch pieces, or 5-6 minutes if left whole). Usually 2-5 minutes on high pressure cooks most types of recipes.
Instant Pot Safety Tips
- Don’t touch the lid or attempt to move the Instant Pot once it’s on and cooking under pressure
- Use the right amount of liquid (usually a minimum of 1/2 cup of liquid is required for most recipes)
- Don’t fill past the max fill line
- Stay away from the steam and use a spoon when doing the quick release
- Make sure the sealing ring is pushed into the sealing ring rack and that the anti-block shield is mounted properly before use – it usually always is but it’s always good to double check!
How To Use An Instant Pot
Once you have done the water test you have basically mastered using your Instant Pot, yay!!!
Every time you make a recipe you will add all of the specified ingredients, press the “Manual” or “Pressure Cook” button and then input the time required. Sometimes you will saute certain ingredients ahead of time before pressure cooking so make sure you follow the recipe exactly.
Once you have cooked your food, you will then either do a natural pressure release or a quick release – look to the recipe you’re following to see which one you will use. I will specify the difference between the two below!
Natural Release
Sometimes written as “NPR” or “NR” on a recipe, natural release is when you let the pressure release naturally. It’s as simple as letting the Instant Pot sit for 15-20 minutes until all of the steam has naturally evaporated.
To make sure you have naturally released all the pressure, take a look at the floating valve to make sure it has completely dropped and turn the venting knob to the venting position before opening the lid.
You will naturally release the pressure on different types of meat to ensure tenderness, and it can be used on soups and stocks that need flavours to develop further. I also use NPR on starchy recipes like steel cut oats. I do not recommend using it with things like rice and pastas because the cooking process is still ongoing so you can overcook your food.
As long as you follow a recipe properly it should indicate which release to use so don’t overthink it!
Quick Release
Sometimes written as “QR”, or “QPR”, quick release is letting the steam escape through the release valve to quickly vent the pressure.
Once the cooking cycle has finished, you’ll flick the venting knob at the top with your finger or a spoon. It will go from the sealing position to the venting position and let all the steam out within 2-3 minutes.
Again, you will want to wait until the floating valve has dropped to the bottom before trying to open the lid but other than that it’s pretty simple!
I almost always use a quick release in most of my recipes because it keeps the cook time down and prevents overcooking.
Different Functions
Sauté
As mentioned above, sometimes you will want to saute ingredients ahead of time or reduce a sauce after something is done pressure cooking.
To saute, press the “Saute” button and wait until the indicator beeps and says “Hot”. At that point you can start sauteeing.
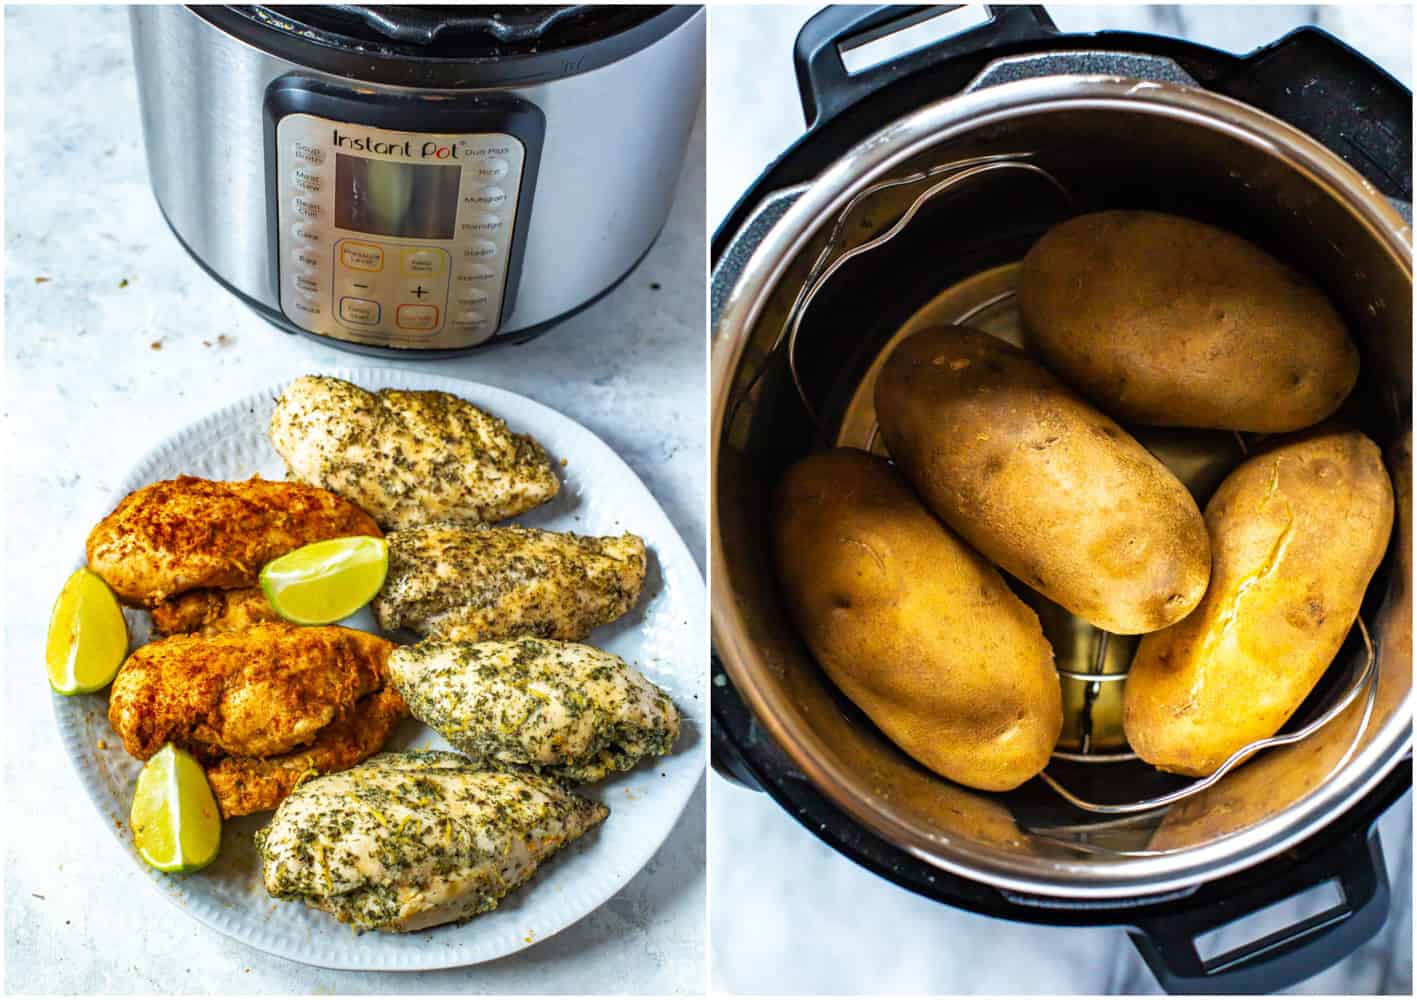
Steam
To steam vegetables, it’s easiest to use the trivet insert, which will prevent burning. You will then cook on high pressure for “0” minutes. That’s right, zero minutes!
This will allow the Instant Pot to preheat just to pressure without overcooking the vegetables. Flick the venting knob and then remove the trivet of vegetables immediately.
Slow Cook
The “Slow Cook” button will show a 4-hour cook time automatically. You can use the + and – buttons to adjust the cook time. Read my guide on How to Use Your Instant Pot as a Slow Cooker to learn how to master this function.
How to Clean Your Instant Pot
- Clean the rim with a brush or cloth. Food particles might get caught in the rim as we cook or dump ingredients in so you’ll want to wipe it with a thin material that can get into the nooks and crannies.
- Clean the Instant Pot inner pot – this can be loaded into the dishwasher but the one pot also takes just a minute to hand wash with soap and water.
- Wash the Instant Pot lid by hand with soap and water, being careful to wipe around the sealing ring, floating valve and venting knob. I personally never take off the sealing ring so that it doesn’t get deformed or moved too much out of place. If you find that it starts to smell over time, you can always replace with a new sealing ring.
- Periodically remove and clean out the condensation collector and venting knob, washing with soap and water – I usually only have to do this once every couple of months.

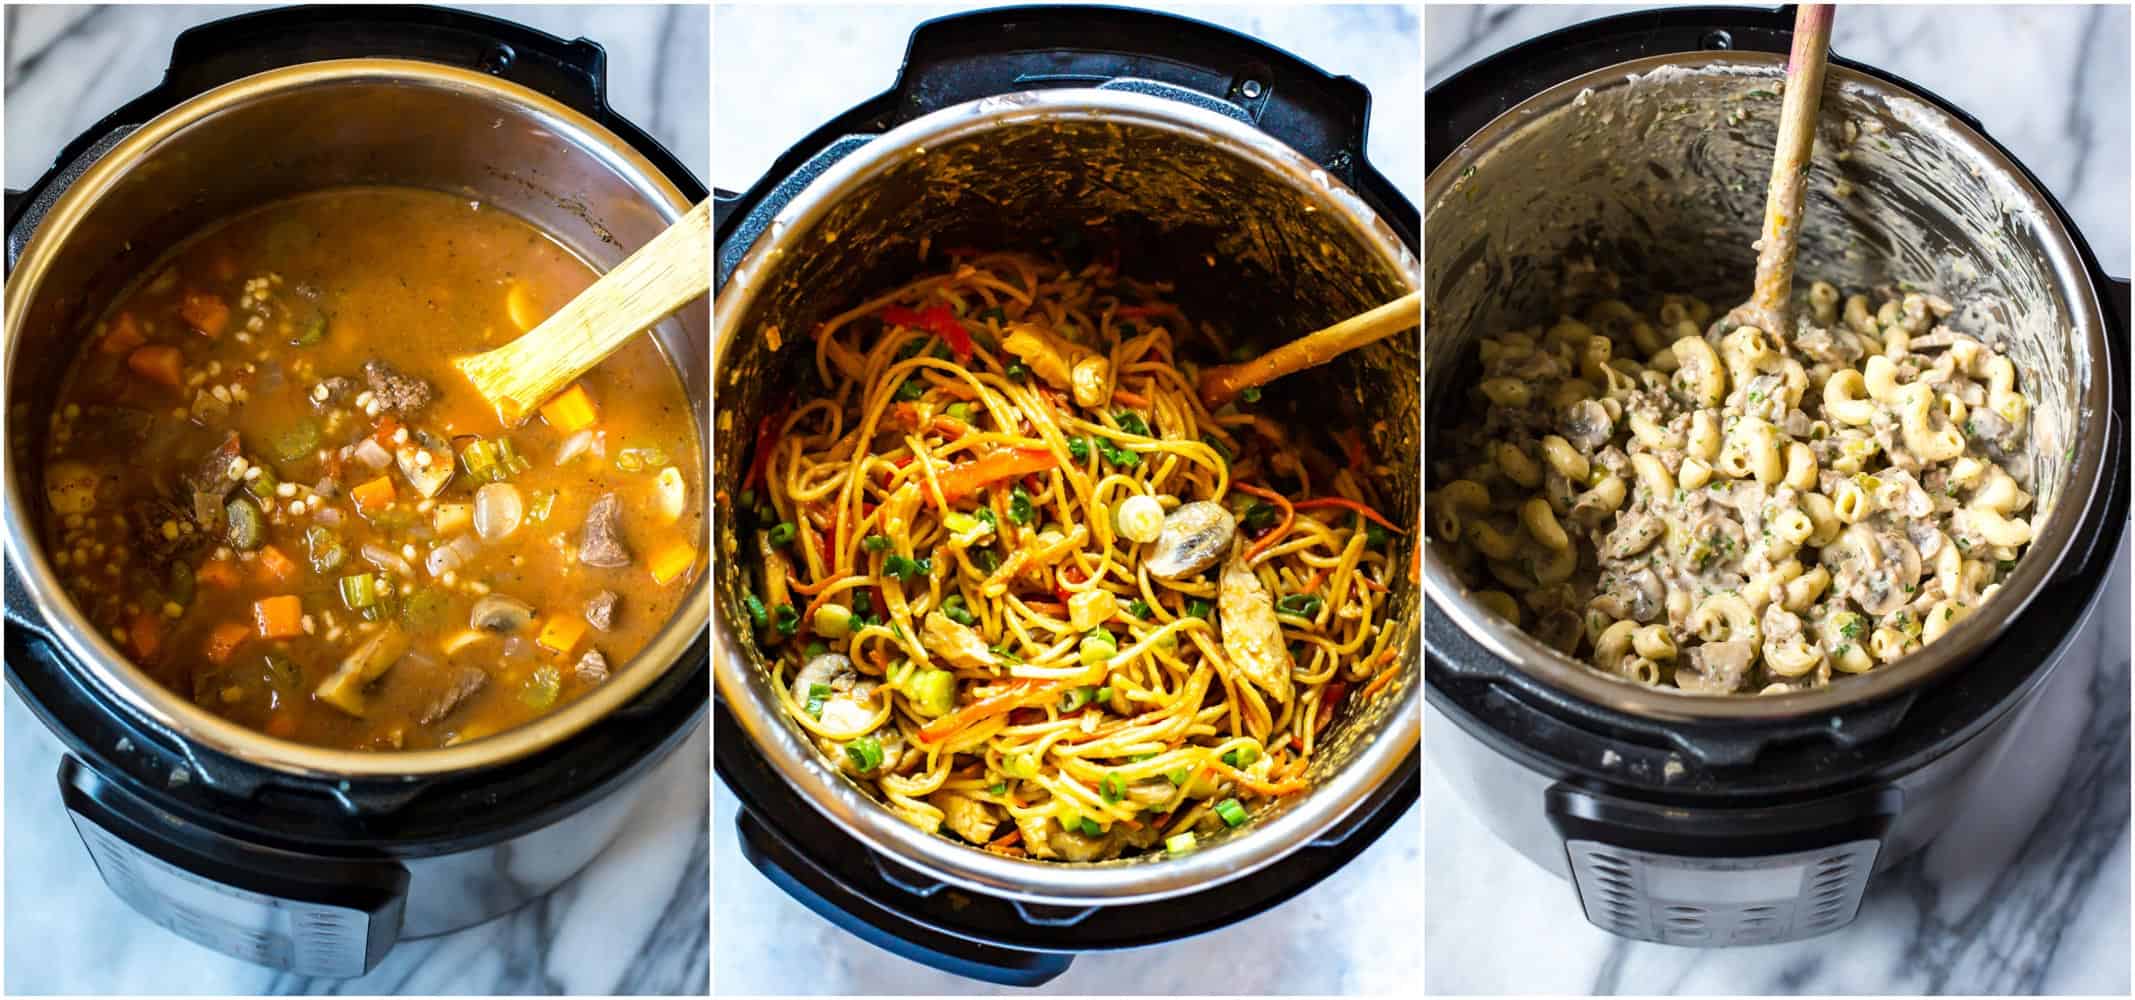
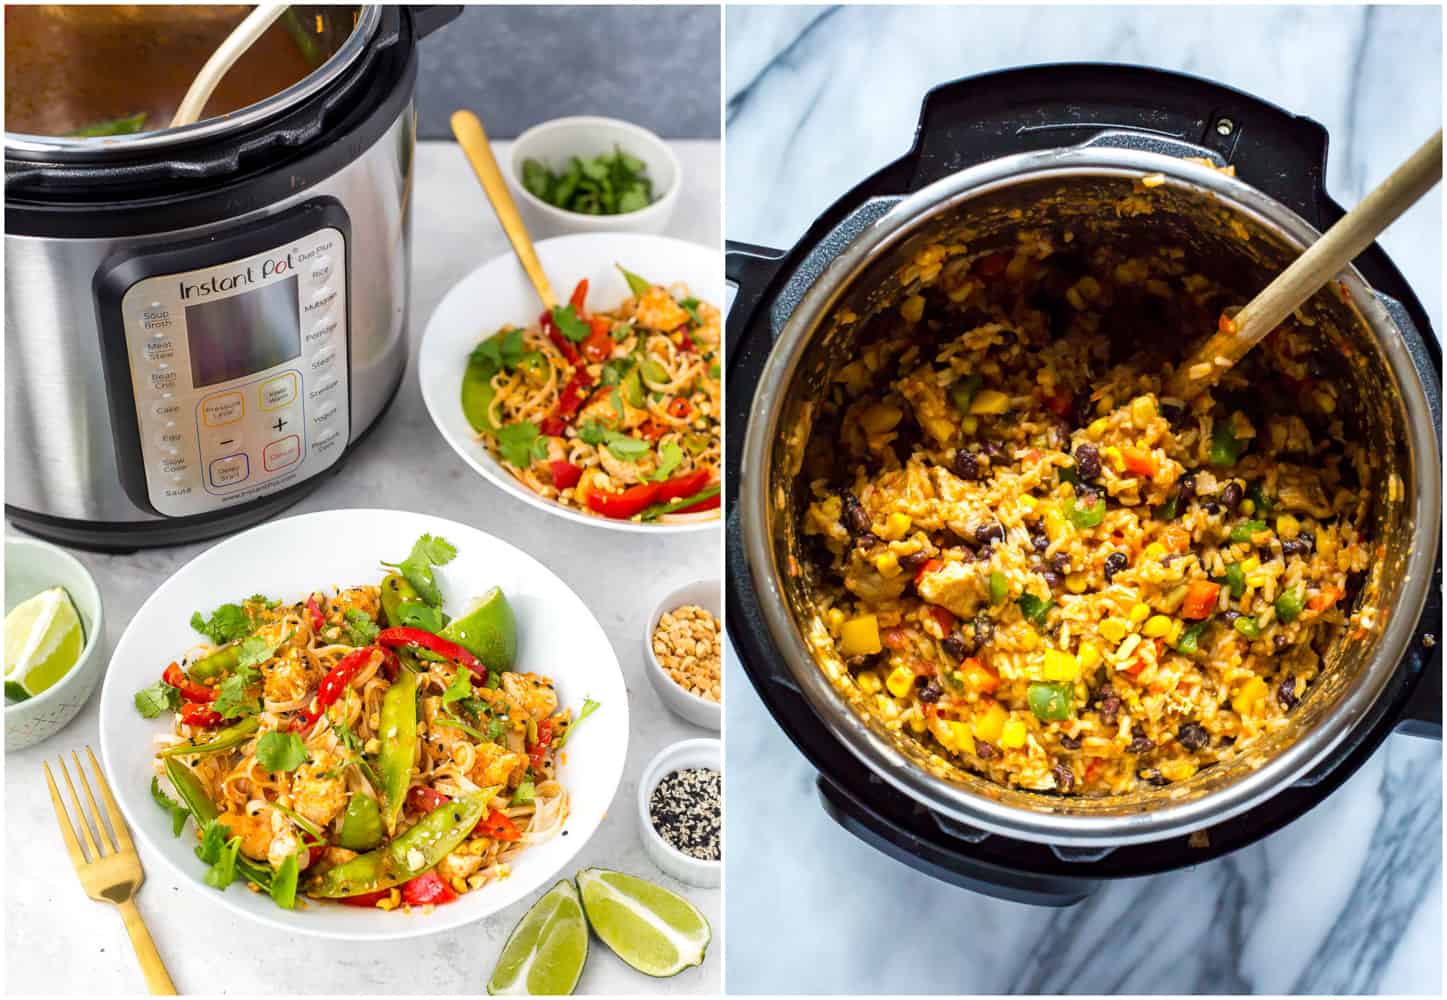
Easy Instant Pot Recipes to Get Started
Listed below are some easy, basic Instant Pot recipe links to get you started using your new multi-cooker. Most of them are done in 30 minutes or less so they’re perfect for dinner or your weekly meal prep! Make sure to check out my Instant Pot Recipes for Beginners post or my Guide to Instant Pot Cooking Times for more ideas, too!
Instant Pot Chicken Tortilla Soup

Instant Pot Chicken Tortellini Soup

Instant Pot Cashew Chicken {Takeout-Inspired}

Instant Pot Greek Chicken & Rice
Instant Pot Chicken Adobo

Instant Pot Chicken Lo Mein {Quick + Easy}

Instant Pot Pizza Pasta

Instant Pot Baked Potatoes


